How To Install And Use Jekyll
shawn phy / January 2024 (1228 Words, 7 Minutes)
Introduction
jekyll is a static site generator which is used by most organistions including github pages.It is written in the ruby programming language In this post we will look at how to use jekyll to host some of your static pages.
static site generators
These are tools used by web developers to generate “static content”. Static web pages sometimes also called flat pages, are pages which display the same content to all users in contrast to a dynamic web page which is served from a web application.
The content of static web pages remain stationary irrespective of the number of times it is viewed. Such web pages are suitable for the contents that rarely need to be updated, though modern web template systems are changing this. Maintaining large numbers of static pages as files can be impractical without automated tools, such as static site generators. This is where jekyll comes in.
Other static site generators include hugo, next.js, angular, gatsby.js.
Jekyll

Jekyll renders Markdown or Textile and Liquid templates, and produces a complete, static website ready to be served by Apache HTTP Server, Nginx or another web server. If you are interested in creating your own jekyll themes you can study how the liquid templating engnine works.
By default, Jekyll uses the kramdown Markdown processor with stock settings, but you can enable other kramdown options or even switch Jekyll to another Markdown processor.
Installing jekyll
jekyll is a ruby gem and can be installed on nearly every system out there.
There are independent installation instructions for every platform and this article will cover installation on windows and Ubuntu. Regardless of the platform or operating system you want to use jekyll on, the following requirements must be installed:
- Ruby version 2.5.0 or higher, including all development headers (check your Ruby version using
ruby -v) - RubyGems (check your Gems version using
gem -v) - GCC and Make (check versions using
gcc -v,g++ -v, andmake -v)
Installing on windows.
The documentation mentions that windows is not an ideal platform for development because it is not an officially supported platform. However, it can be used with the proper tweaks.
Like most other software on windows, both ruby and jekyll can be (easily) installed using a single installer. The ruby installer is a self-contained Windows-based installer that includes the Ruby language, an execution environment, important documentation, and more.
The documentation also says “We only cover RubyInstaller-2.4 and newer here. Older versions need to install the Devkit manually.”
- Download and install Ruby and the associated Devkit from ruby devkit. The default options should work just fine without glitches.
- Click the checkbox to
run ridk installon the final screen of the Ruby install. - In the command window that appears, choose option 3 to
install MSYS2 and the MINGW development toolchainif you dont have them already, if either of them are present the installer will skip that part. - Open a new command window from the Start menu and install Jekyll on Windows with the following command:
gem install jekyll bundler - Verify the install by issuing the
jekyll -v commandthe command should return the version number you currently have installed. incase the commandjekyll -vreturns errors you should reboot your computer else if errors still persist then you should open an issue on the github page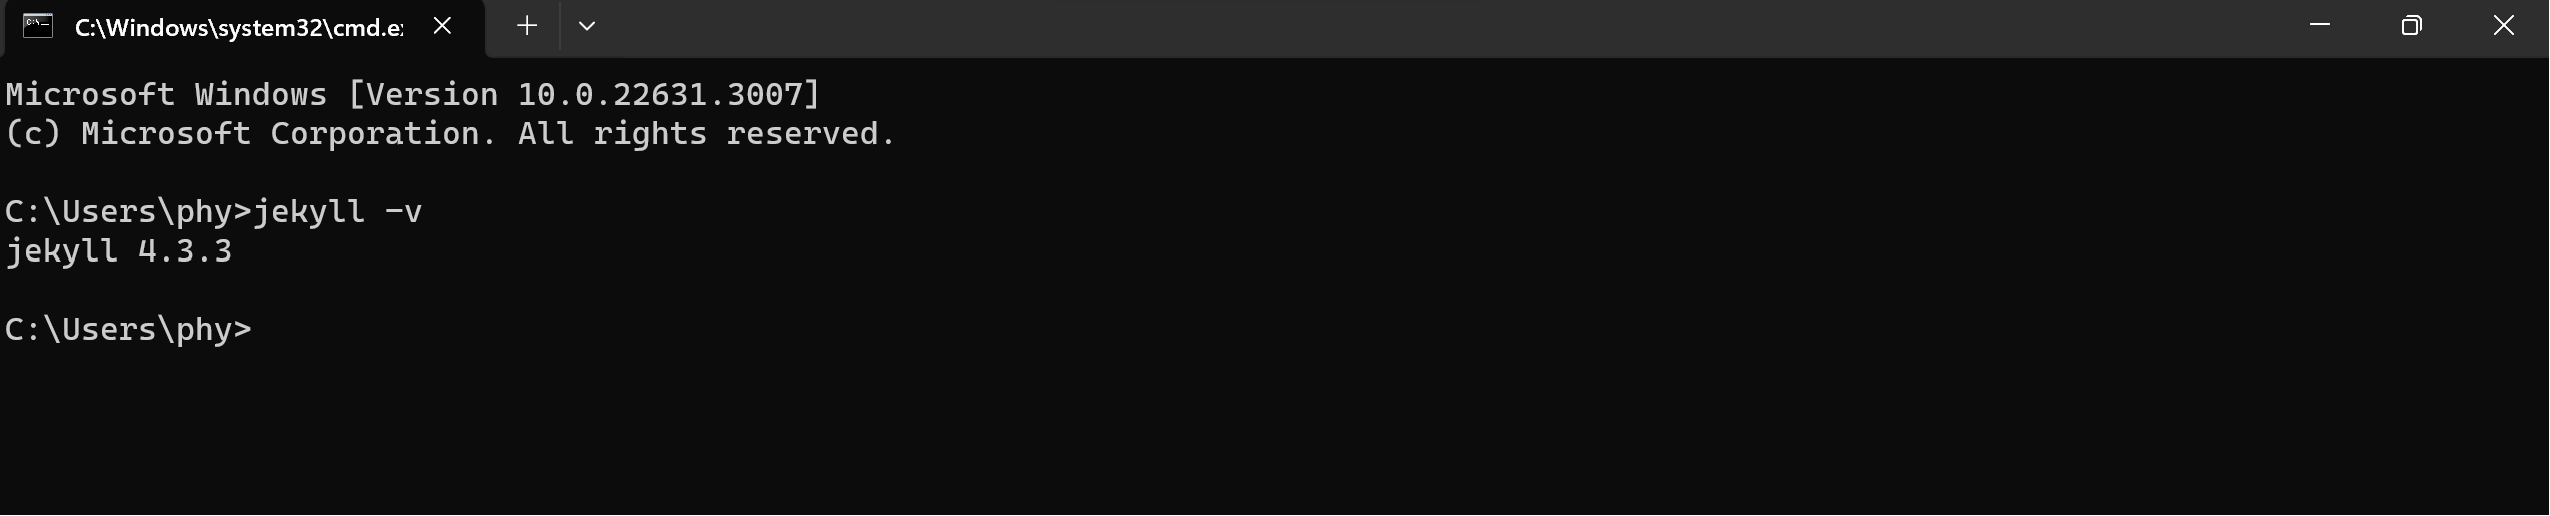
Installing on Ubuntu.
- To install ruby and other prerequisites
sudo apt-get install ruby-full build-essential zlib1g-dev
Readers are advised to avoid installing ruby gems as root user for obvious security and compatibility issues. Instead, set up a gem installation directory for your user account.
- Add environment variables to your
~/.bashrcfile to configure the gem installation path by running the following commands.echo '# Install Ruby Gems to ~/gems' >> ~/.bashrc echo 'export GEM_HOME="$HOME/gems"' >> ~/.bashrc echo 'export PATH="$HOME/gems/bin:$PATH"' >> ~/.bashrc source ~/.bashrc - Finally to install jekyll and bundler.
gem install jekyll bundlerYou are ready to start using jekyll.
creating your first blog
- Create a new blog with the command
jekyll new myblog - From the myblog folder created in the previous step issue the following command
cd myblog - To launch the server run the following command
bundle exec jekyll serve - Open a browser to http://localhost:4000 and view your Jekyll blog.
using custom themes
Jekyll like most other JAMstacks has numerous themes that specify plugins and package up assets, layouts, includes, and stylesheets in a way that can be overridden by your site’s content. Many themes can be found on websites such as:
- GitHub.com #jekyll-theme repos
- jamstackthemes.dev
- jekyllthemes.org
- jekyllthemes.io
- jekyll-themes.com
personally my favorite is jamstackthemes.dev because it has templates for most other SSG’s so you have a very wide range of choice.
understanding gem-based themes.
By default the theme used by jekyll is the minima theme. Whenever you start development on a new jekyll site using the command jekyll new <PATH> it starts a gem based theme.
With gem-based themes, some of the site’s directories (such as the assets, _data, _layouts, _includes, and _sass directories) are stored in the theme’s gem, hidden from your immediate view. Yet all of the necessary directories will be read and processed during Jekyll’s build process.
In the case of Minima, you see only the following files in your Jekyll site directory:
.
├── Gemfile
├── Gemfile.lock
├── _config.yml
├── _posts
│ └── 2016-12-04-welcome-to-jekyll.markdown
├── about.markdown
└── index.markdown
The Gemfile and Gemfile.lock files are used by Bundler to keep track of the required gems and gem versions you need to build your Jekyll site.
More info can be found on the official documentation it also outlines the steps involved in creating your own custom theme or if you want to become a theme developer rather than a theme consumer.
post installation steps on windows
Windows requires some more installation steps to use it effectively.
time zone management
Since Windows doesn’t have a native source of zoneinfo data, the Ruby Interpreter doesn’t understand IANA Timezones. Using them had the TZ environment variable default to UTC/GMT 00:00.
Though Windows users could alternatively define their blog’s timezone by setting the key to use the POSIX format of defining timezones, it wasn’t as user-friendly when it came to having the clock altered to changing DST-rules.
Jekyll now uses a rubygem to internally configure Timezone based on established IANA Timezone Database.
While ‘new’ blogs created with Jekyll v3.4 and greater, will have the following added to their Gemfile by default, existing sites will have to update their Gemfile (and installed gems) to enable development on Windows:
# Windows and JRuby does not include zoneinfo files, so bundle the tzinfo-data gem
# and associated library.
platforms :mingw, :x64_mingw, :mswin, :jruby do
  gem "tzinfo", ">= 1", "< 3"
  gem "tzinfo-data"
end
auto regeneration
Jekyll uses the listen gem to watch for changes when the --watch switch is specified during a build or serve. While listen has built-in support for UNIX systems, it may require an extra gem for compatibility with Windows.
Add the following to the Gemfile for your site if you have issues with auto-regeneration on Windows alone:
gem "wdm", "~> 0.1.1", :install_if => Gem.win_platform?
With these steps you should be able to install and use jekyll, effectively on your platform. Remeber to get creative with themes.